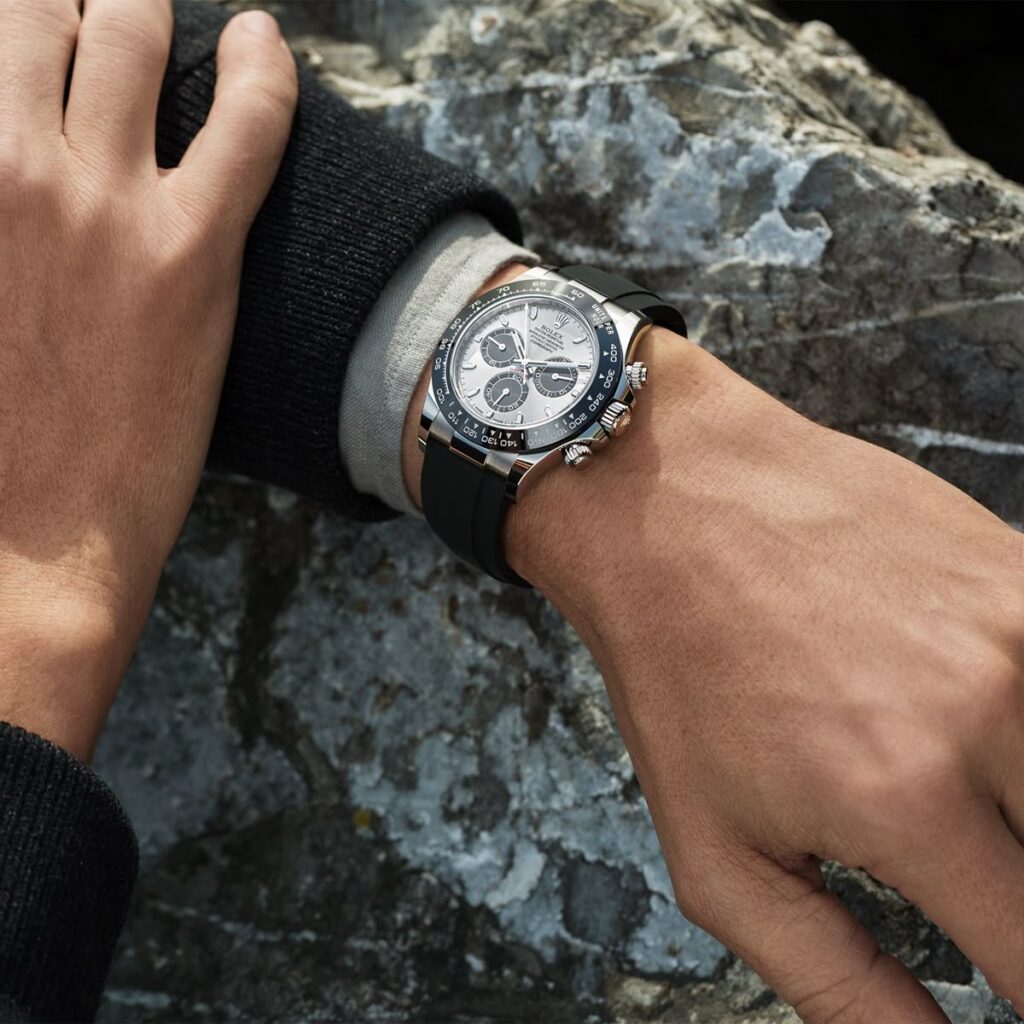
You’ve just acquired a stunning timepiece with that razor-sharp 904L steel finish. It looks perfect. But after just one week of office work, you flip your wrist over and see it: the clasp is covered in a web of tiny, chaotic scratches.
Welcome to the “Desk Divers” club.
This phenomenon is inevitable when metal clasps constantly rub against desks, MacBooks, or keyboards. But don’t panic. You don’t need to spend money on a professional service or wait weeks for a polish. With 5 minutes and a few simple household tools, you can restore your clasp to near-factory condition yourself.
Here is our professional, step-by-step technical guide.
⚠️ CRITICAL WARNING BEFORE YOU START
Before touching your watch with any abrasive material, you must determine two things:
- Is the finish Brushed or Polished? Using the wrong tool on the wrong finish will ruin the factory look.
- Is the material Solid Steel or Gold Plated?
- Solid Steel: Safe to proceed.
- Gold Plated/PVD: DO NOT attempt this. Abrasives will remove the plating and reveal the raw steel underneath.
🛠 The DIY Kit: What You Need
You don’t need heavy machinery. You just need these essentials:
- Masking Tape (Painter’s Tape): To protect areas you don’t want to scratch.
- Microfiber Cloth: For cleaning.
- The Abrasives:
- For Brushed Finishes: A Scotch-Brite pad (the green side of a dish sponge) or a Bergeon rust eraser (for pros).
- For Polished Finishes: Cape Cod polishing cloths.
📋 The 4-Step Restoration Process
Step 1: Deep Clean
Dust is the enemy. If you polish a dirty surface, the dust particles will act like sandpaper and create deeper scratches.
Action: Wipe the clasp and bracelet thoroughly with a damp cloth or a little alcohol, then dry completely with your microfiber cloth.
Step 2: Masking (The Most Important Step)
This separates the amateurs from the pros. Watch clasps often feature a mix of brushed surfaces and polished edges.
Action: Use masking tape to cover ANY area you do not want to touch. For example, if you are refinishing the brushed center, tape off the polished sides completely.
Step 3: Removing the Scratches
Option A: For Brushed Finishes (Satin)
The Goal: Re-create the parallel grain lines.
The Technique: Take your Scotch-Brite pad. Apply moderate pressure and pull it across the metal in a STRAIGHT line, following the direction of the bracelet.
The Golden Rule: One Direction Only. Do not go back and forth. Do not use circular motions. Lift the pad after each stroke and pull it straight again to ensure the new grain matches the factory finish.
Option B: For Polished Finishes (Mirror)
The Goal: Lightly abrade the surface to level out the hairlines.
The Technique: Cut a small piece of the Cape Cod cloth. Rub it gently over the scratched area using a circular motion. Continue for 1-2 minutes until you see the cloth turn black (this is the metal oxide being removed).
The Finish: Wipe away the oily residue with a clean cloth to reveal the mirror shine.
Step 4: Inspection
Remove the masking tape. Give the watch a final wipe down with your microfiber cloth. Take it into natural light to inspect your work. You should see that 90-95% of those annoying “desk diving” hairlines are completely gone.
💡 Expert Tips
- Know your limits: This technique is for surface-level hairlines. If you have deep gouges or dents from dropping the watch, do not try to sand them out at home-you will alter the shape of the case. Leave deep damage to a professional with a laser welder.
- Moderation is key: Every time you polish, you remove a microscopic layer of metal. We recommend doing this maintenance no more than once every 6 to 12 months.
Enjoy your pristine timepiece, and try to keep that wrist off the desk!